MicroZed Chronicles: MicroBlaze in Spartan-6 FPGAs (ISE/EDK) and 7 Series (Vivado ML)
January 14, 2022
Editor’s Note: This content is republished from the MicroZed Chronicles, with permission from the author.
Over the years, I have created MicroBlaze solutions for many Xilinx devices including Spartan-6 FPGAs, 7 series and up. Inserting a MicroBlaze can be very useful for sequential processing and is helpful with serial and network communications etc.
Recently, I released a white paper detailing how developers could migrate from Spartan-6 devices to 7 series devices. Although Spartan-6 is not being end of lifed, 7 series devices have a better supply situation.
One of the things I cover in the white paper is the migration of designs which use MicroBlaze. Due to differences in the architecture of the processor, the best migration method is often to recreate the design.
The reason I made this statement is the change in bus interface between what is typically used in Spartan-6 developments and more modern Vivado developments. Spartan-6 developments created within the Xilinx Platform Studio use Processor Local Bus (PLB) interfaces.
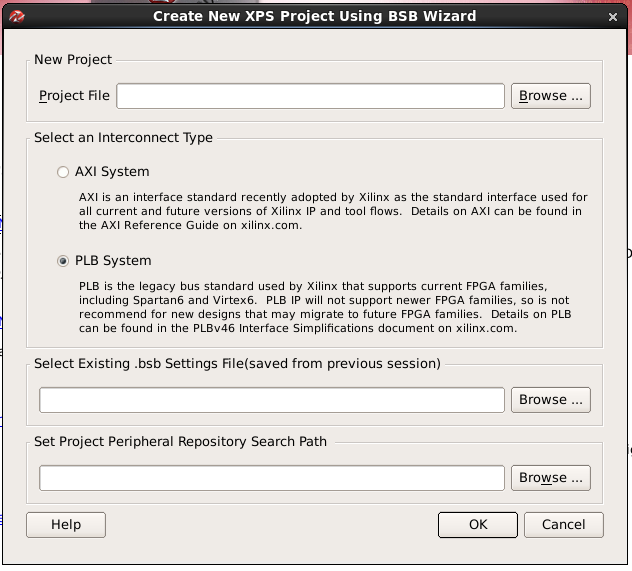
PLB is actually a legacy interface from when FPGAs contained IBM PowerPC cores. PLB was one of two interfaces used. The other being OPB or On-Chip Peripheral Bus. Of the two, PLB was designed for high throughput, low-latency interfaces while OPB was intended for lower-speed peripherals.
With Vivado, interfaces have migrated to AXI-Lite or AXI depending on the need for high throughput, low latency, or slower-speed communication.
When creating MicroBlaze solutions within the Xilinx Platform Studio, we can connect IP using System Assembly View.
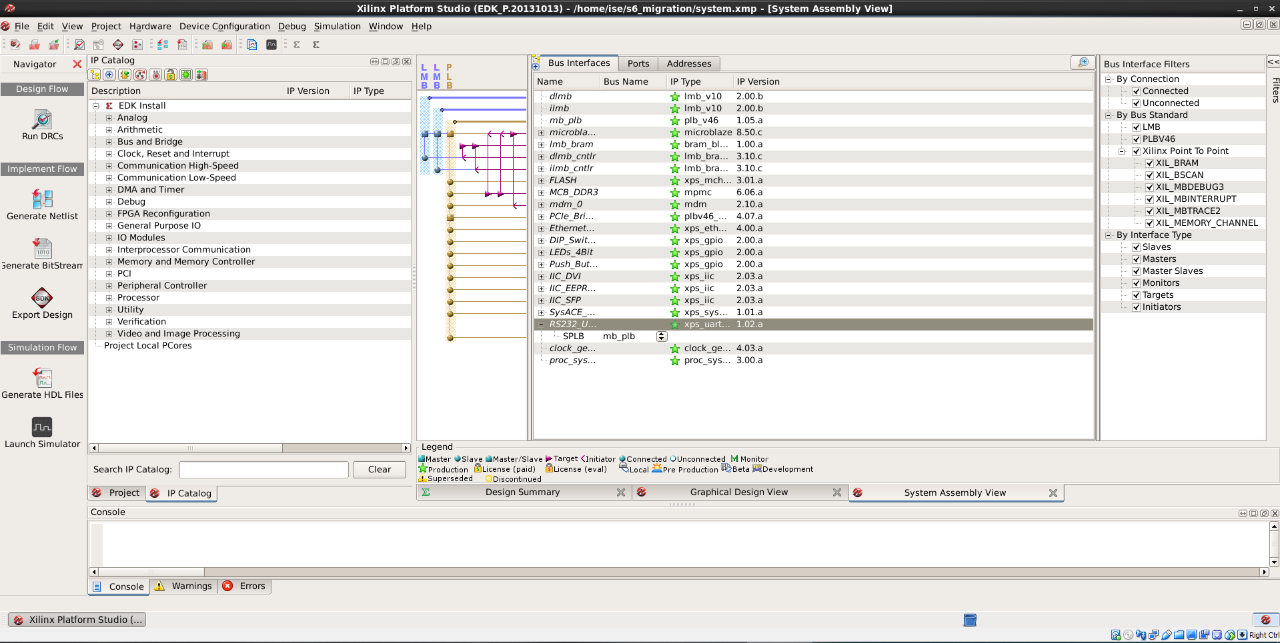
Once the MicroBlaze system is created, it can either be implemented in XPS or ISE depending upon the flow of the project. In either flow, custom or third-party IP can be created which will connect to the PLB.
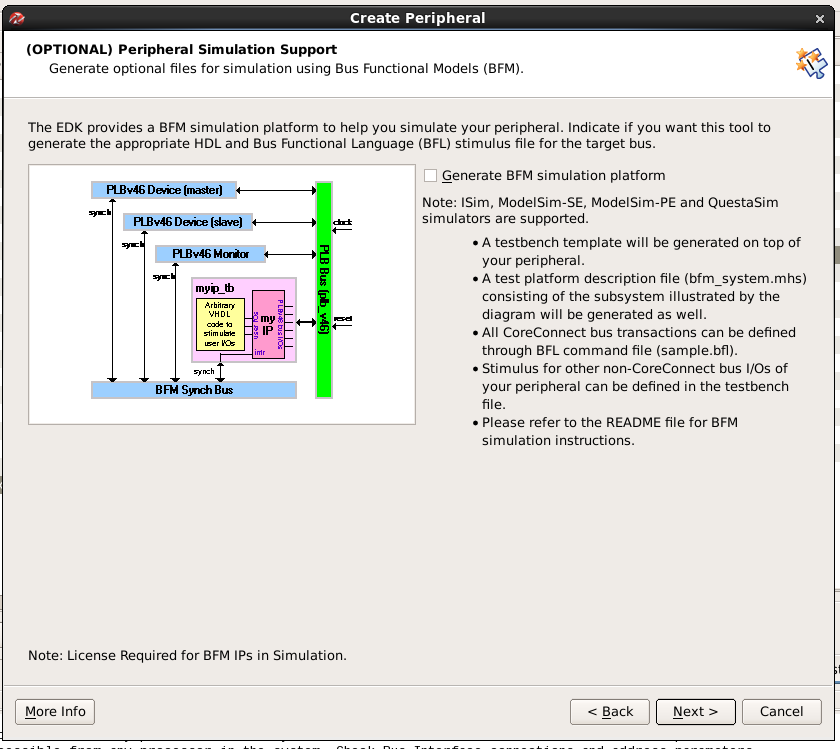
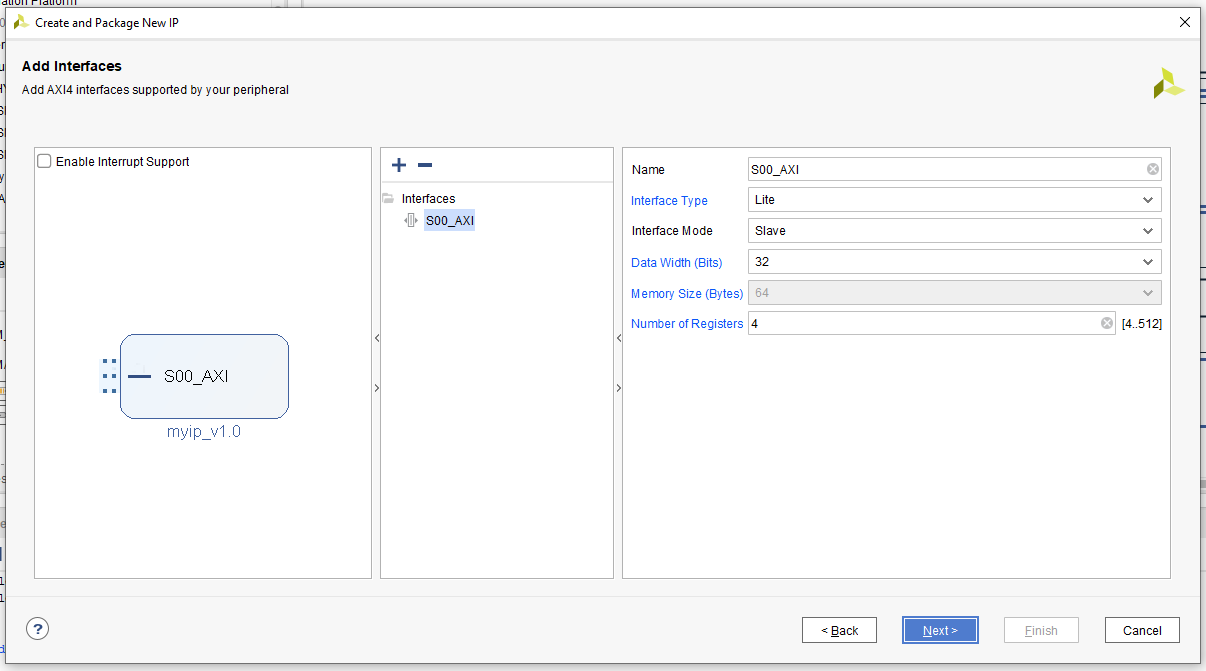
When it comes to handling the migration to Vivado, the best approach is to create the MicroBlaze system in Vivado to allow the latest MicroBlaze cores with AXI interfaces to be implemented.
We have two options to address the custom interfaces. The first is to take the RTL core which we wrapped in the PLB implementation when the custom IP core was created in the Xilinx Platform Studio. We can create a new IP core wrapper in Vivado with the desired interface to wrap around the existing custom RTL previously wrapped in the PLB interface.
If, however, the Spartan-6 IP is third party and cannot be modified and wrapped in a AXI interface, another approach is to import the PLB to AXI IP block which was present in Vivado until Version 2012.4 To make use of this IP core, we need to install the older version of Vivado and copy the IP core across to the version of Vivado you are working with.
Doing this is straightforward. We can find the IP under the following directory: <installation>/14.4/ISE_DS/EDK/HW/XilinxProcessorPLib/pcores

In this directory, you will find the PLB to AXI and AXI to PLB cores.
To use them in a later version of Vivado, we need to copy these into a new directory.

Once these IP cores are located in their own directory, the next step is to use Vivado to package each of the directories to provide the IPXact format necessary for use with Vivado.
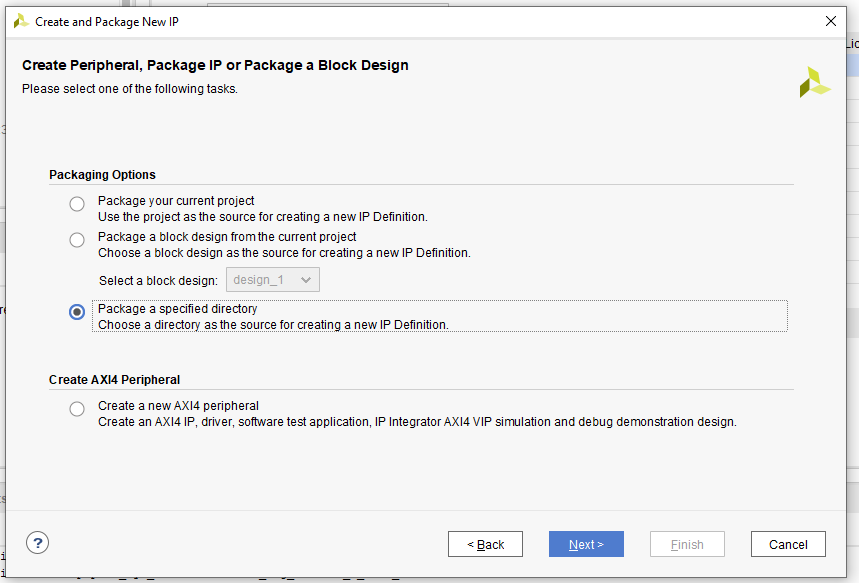
Package both directories.
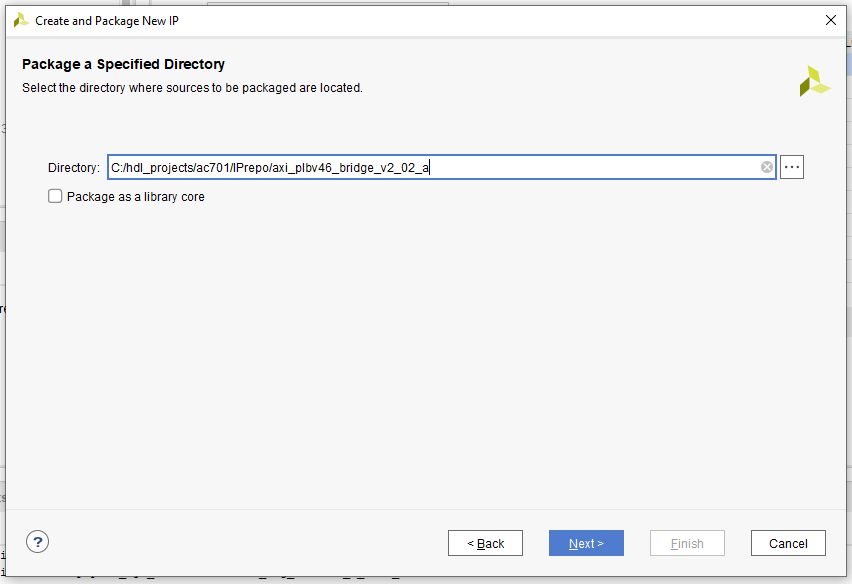
There are no changes needed in the packager.
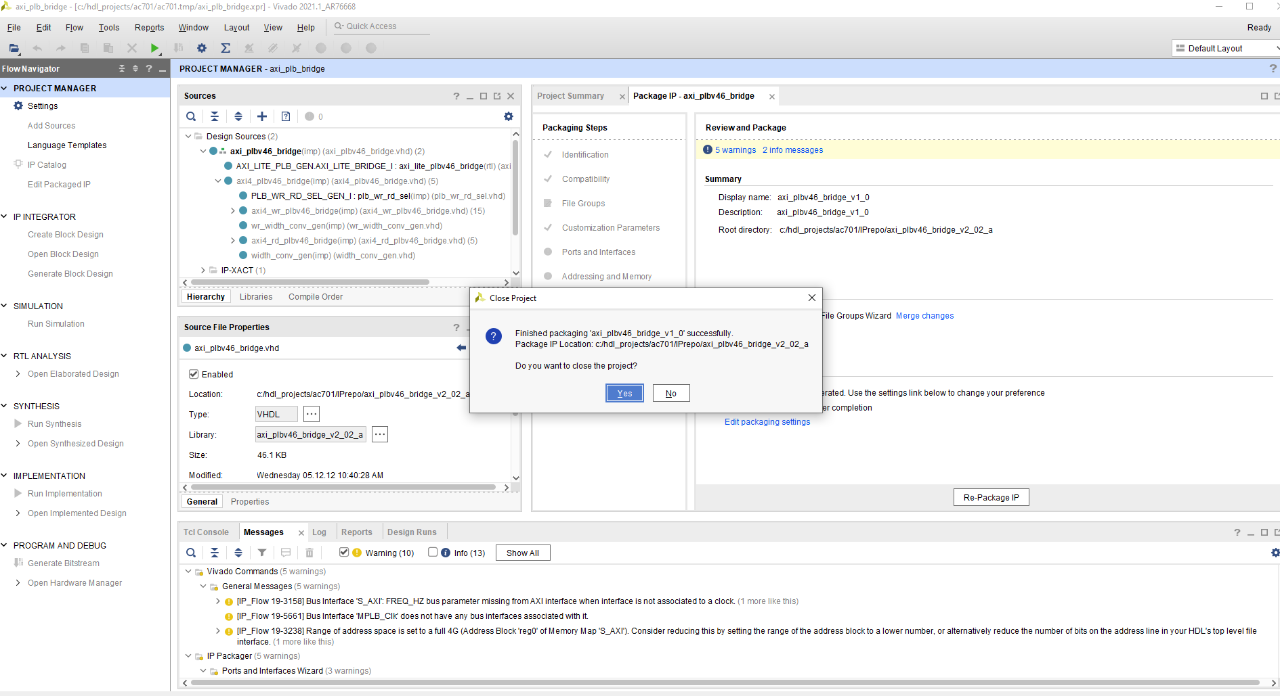
With both directories packaged, we can add the directory which contains both packaged directories to Vivado as an IP Repository. Both IP will be present and they can be added to the project.

If we are not able to just wrap the core of the IP block core in a AXI wrapper, this allows us to be able to connect in pre-exiting IP cores which have a PLB interface.
Xilinx Xclusive Blog
-
- 准备呐喊助威吧:赛灵思将参加 BattleBots电视系列角逐赛
- Dec 07, 2021
-
- 50 多家领先的公司、大学和研究机构将在 Xilinx Adapt 2021 上发言
- Sep 01, 2021
-
- 嵌入式 AI 需要什么样的解决方案
- Sep 01, 2021
Adaptable Advantage 博客
Xilinx AI 和软件博客
-
- 连获“双奖”,Xilinx AI 团队实力绽放国际视觉顶会
- Oct 08, 2021
-
- 您是否了解过赛灵思应用商店?评估和购买 Alveo 及 Kria SOM 解决方案的一站式商店。
- Sep 23, 2021
-
- Aupera Face Recognition Solution on Xilinx App Store
- Jun 20, 2021